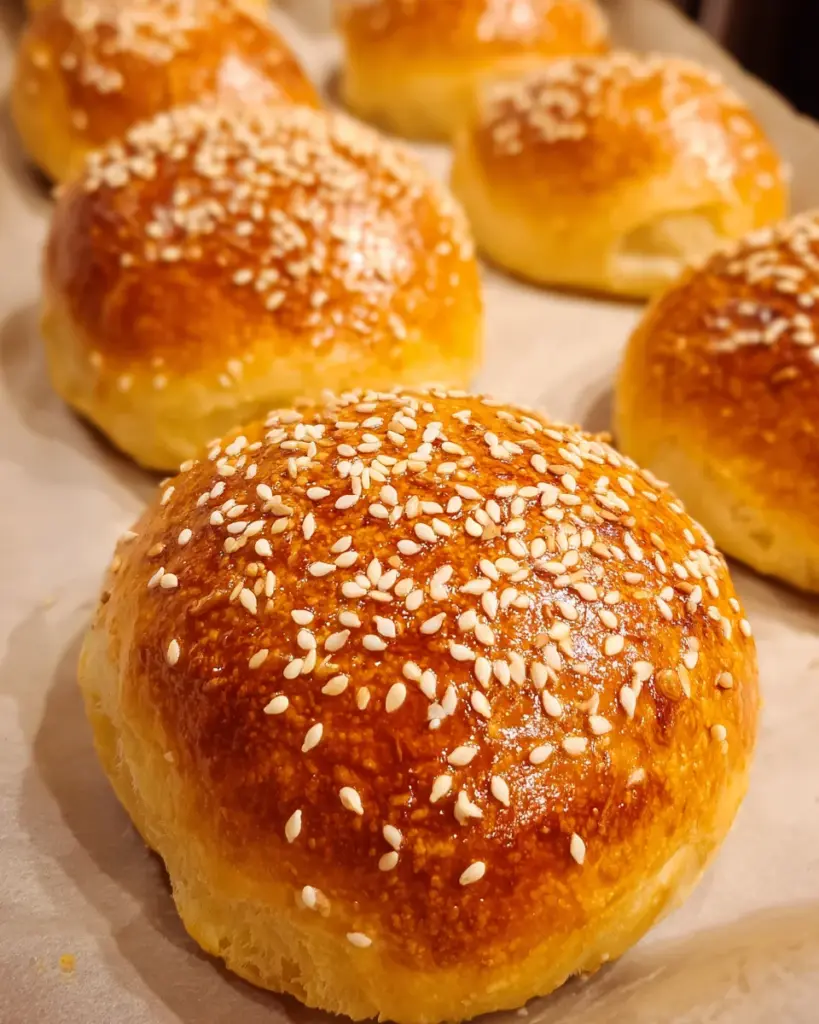
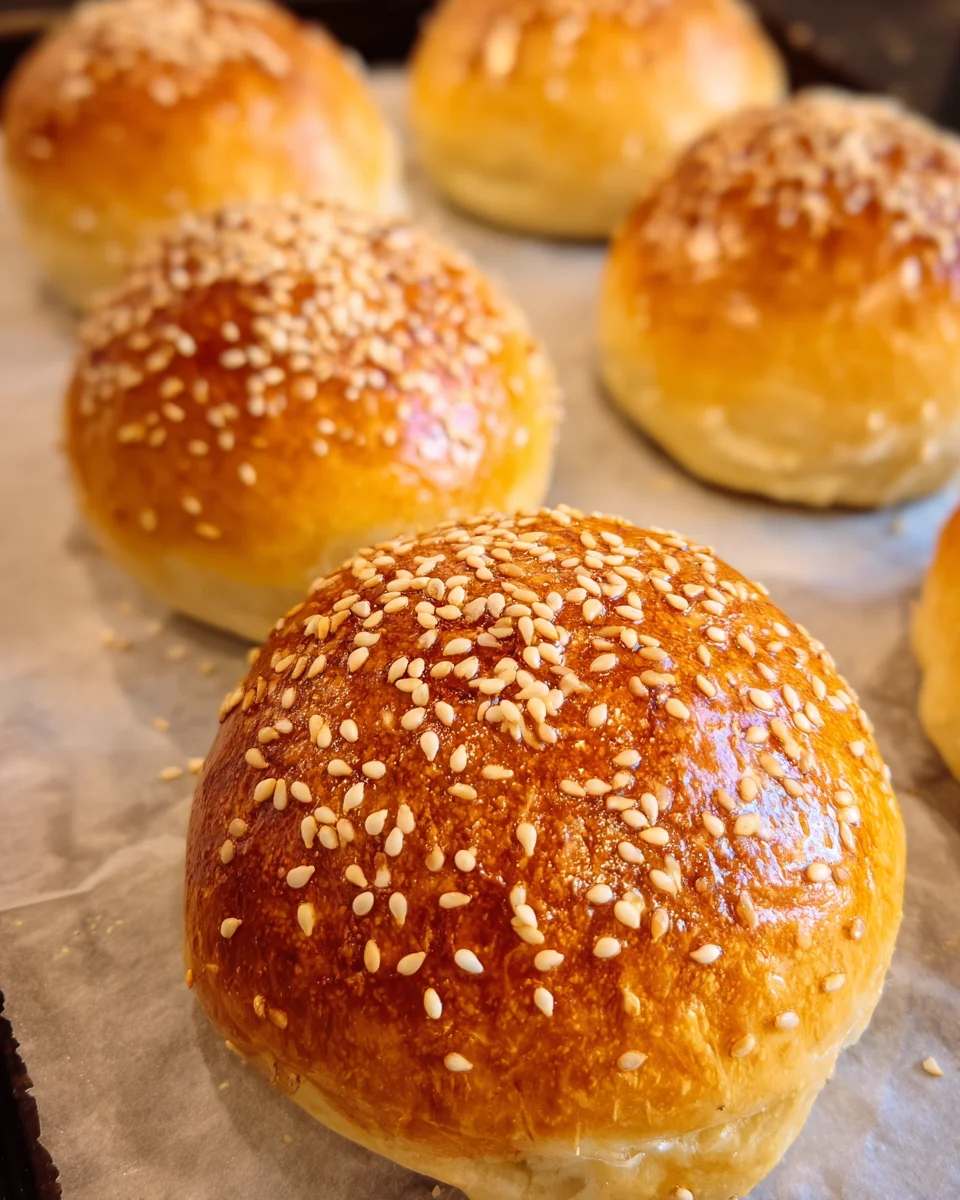
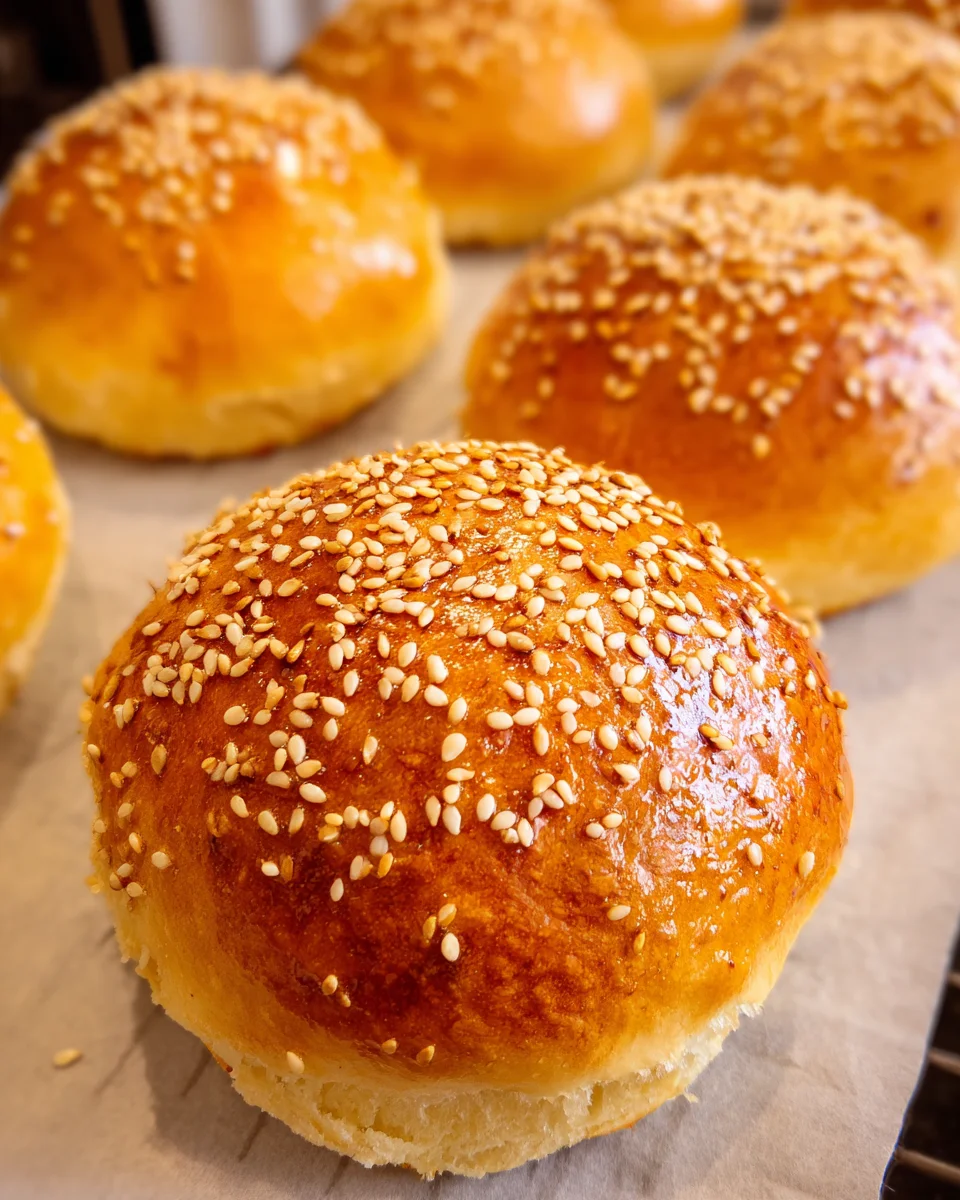
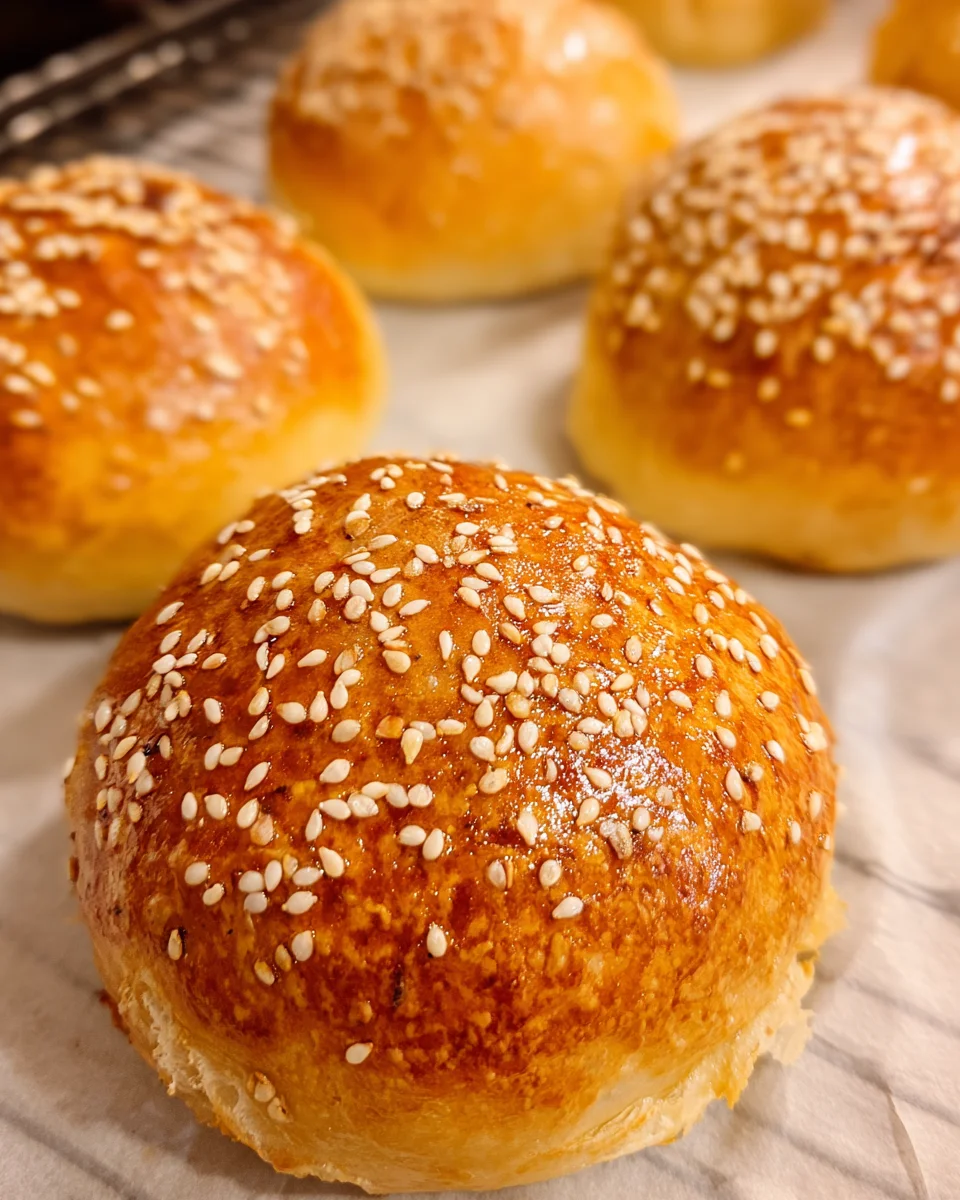
Homemade Slider Buns are the perfect addition to any meal or gathering. These soft, golden buns are baked from scratch, offering a bakery-quality experience right in your kitchen. Ideal for weeknight sliders, game day spreads, or any occasion, they are versatile enough to hold your favorite fillings while remaining fluffy and delicious. With this simple recipe, you’ll impress family and friends with your baking skills!
Why You’ll Love This Recipe
- Beginner-Friendly: This recipe is easy to follow, making it perfect for novice bakers.
- Versatile Uses: Great for mini burgers, sandwiches, or even as dinner rolls.
- Fresh and Flavorful: Enjoy the delightful taste of freshly baked buns made with quality ingredients.
- Customizable Toppings: Feel free to add seeds or herbs for an extra flavor boost.
- Perfect for Meal Prep: Make a batch ahead of time and freeze them for later use.
Tools and Preparation
To create these delightful slider buns, you’ll need a few essential tools. Having the right equipment will make the process smoother and more enjoyable.
Essential Kitchen Tools
- Mixing bowl
- Measuring cups and spoons
- Whisk
- Baking pan
- Parchment paper
- Clean kitchen towel
Why These Tools Matter
- Mixing bowl: A spacious bowl is essential for combining ingredients without spills.
- Whisk: Helps blend liquids and eggs evenly into your dough.
- Baking pan: Ensures even baking and proper shaping of your slider buns.
Ingredients
Soft, golden slider buns baked from scratch. Beginner-friendly and bakery-quality, these are perfect for weeknight sliders or game day spreads.
Ingredients:
– 3½ cups (420 g) all-purpose flour
– 2¼ tsps (1 packet / 7 g) RapidRise yeast (granulated)
– 2 tbsps (25 g) granulated sugar
– 1 tsp (6 g) table salt (or ¾ tsp / 4 g if using salted butter)
– 1 cup (240 ml) warm water (100–110°F (38–43°C))
– 2 large (50 g each) eggs (room temperature, divided)
– 3 tbsps (42 g) unsalted butter (softened)
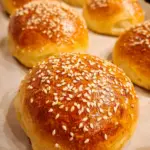
– sesame seeds (for topping)
How to Make Homemade Slider Buns
Step 1: Combine Dry Ingredients
In a large bowl, combine the flour, yeast, sugar, and salt. Mix well to ensure all dry ingredients are evenly distributed.
Step 2: Add Wet Ingredients
Pour in the warm water and add one of the eggs. Stir until a shaggy dough forms. Incorporate the softened butter, then knead until smooth and stretchy—about 8–10 minutes using a mixer or 10–12 minutes by hand.
Step 3: First Rise
Cover the bowl with plastic wrap or a damp towel. Let the dough rise in a warm spot until doubled in size—this should take about 1 to 1½ hours.
Step 4: Shape the Buns
Punch down the dough gently. Divide it into eight equal pieces. Flatten each piece slightly, tuck edges underneath, and roll into balls. Place them on a parchment-lined baking pan with enough space between each bun.
Step 5: Second Rise
Cover loosely with a clean towel and let rise again until puffy and nearly doubled—this will take about 45 to 60 minutes.
Step 6: Prepare for Baking
Whisk together the second egg with one tablespoon of water. Brush this mixture over the tops of your buns before generously sprinkling with sesame seeds.
Step 7: Bake
Preheat your oven to 375°F (190°C). Bake the buns for about 18–22 minutes or until they are golden brown and glossy. Allow them to cool for about 10 minutes before serving.
How to Serve Homemade Slider Buns
Homemade slider buns are versatile and can elevate any meal. Whether you’re hosting a game day party or enjoying a cozy family dinner, these buns can be dressed up in various ways to suit your taste.
Classic Sliders
- Beef Sliders: Use seasoned ground beef patties, topped with cheese and pickles for a classic flavor.
- Chicken Sliders: Grilled or fried chicken breast served with lettuce and mayo make for a delicious option.
- Turkey Sliders: Lean turkey patties with avocado and tomato create a light yet satisfying dish.
- Veggie Sliders: A mix of beans, grains, and spices formed into patties provides a hearty vegetarian choice.
Fun Dips
- Creamy Avocado Dip: This fresh dip pairs perfectly with sliders for an extra layer of flavor.
- Honey Mustard Sauce: A sweet and tangy sauce that complements chicken and turkey sliders beautifully.
- Spicy Sriracha Mayo: Add some heat with this zesty spread, ideal for beef sliders.
Creative Toppings
- Sautéed Onions: Caramelized onions add sweetness that enhances the flavor of any slider.
- Fresh Herbs: Sprinkle fresh basil or cilantro on top for a burst of freshness.
How to Perfect Homemade Slider Buns
Making the perfect homemade slider buns is all about technique and attention to detail. Follow these tips to ensure your buns come out soft and delicious every time.
- Use warm water: The right temperature (100–110°F) activates the yeast effectively, resulting in a fluffy texture.
- Knead thoroughly: Proper kneading develops gluten, which helps the buns rise well and hold their shape.
- Let it rise twice: Allowing the dough to rise twice results in a lighter bun with better flavor.
- Brush with egg wash: This gives your buns a beautiful golden color and shiny finish after baking.
- Don’t skip the sesame seeds: They add not only flavor but also visual appeal to your finished buns.
Best Side Dishes for Homemade Slider Buns
Pairing side dishes with your homemade slider buns can enhance your meal experience. Here are some delightful options to consider:
- Potato Wedges: Crispy on the outside and soft inside, they make for a hearty companion.
- Coleslaw: A refreshing crunch that complements rich flavors from sliders nicely.
- Sweet Potato Fries: Their natural sweetness balances savory sliders perfectly.
- Mixed Green Salad: A light salad adds freshness and balances the meal’s richness.
- Corn on the Cob: Sweet corn brings summer vibes to any slider spread.
- Pickle Platter: Various pickled vegetables offer tanginess that pairs well with sliders.
Common Mistakes to Avoid
Making homemade slider buns can be simple, but there are a few common pitfalls to watch out for. Here are some mistakes to avoid for perfect results:
- Not measuring ingredients accurately: Accurate measurements are crucial in baking. Use a kitchen scale or measuring cups properly to ensure your dough rises correctly.
- Ignoring the dough’s temperature: Dough needs to be in a warm place to rise effectively. If your kitchen is cold, find a warmer spot or use the oven (turned off) with the light on.
- Skipping the second rise: The second rise is essential for fluffy buns. Don’t rush this step; allow enough time for the dough balls to puff up before baking.
- Overbaking or underbaking: Keep an eye on the baking time. Remove the buns when they are golden brown and glossy; otherwise, they may become dry or doughy.
- Using cold eggs and water: Room temperature ingredients mix better and help the yeast activate more efficiently. Allow your eggs and water to reach room temperature before using them.
Refrigerator Storage
- item Store homemade slider buns in an airtight container.
- item They will last for about 3–4 days in the refrigerator.
Freezing Homemade Slider Buns
- item Allow the buns to cool completely before freezing.
- item Wrap each bun tightly in plastic wrap, then place them in a freezer-safe bag or container.
- item Frozen slider buns can last for up to 3 months.
Reheating Homemade Slider Buns
- Oven: Preheat to 350°F (175°C), cover with foil, and heat for about 10 minutes until warmed through.
- Microwave: Place on a microwave-safe plate and cover with a damp paper towel. Heat for 15–20 seconds per bun until warm.
- Stovetop: Heat in a skillet over low heat for 1–2 minutes per side until warmed through.
Frequently Asked Questions
How can I make my Homemade Slider Buns even softer?
To achieve softer buns, try adding an extra tablespoon of butter or milk into your recipe. This will help create a richer texture.
Can I customize my Homemade Slider Buns?
Absolutely! You can add herbs, spices, or cheese into the dough for added flavor. Experimenting with toppings like garlic powder or different seeds can also enhance taste.
What should I serve with Homemade Slider Buns?
These buns pair perfectly with various fillings such as grilled chicken, beef patties, or veggie burgers. They are also great for sliders at parties!
How do I know when my Homemade Slider Buns are done baking?
Look for a golden-brown color and glossy appearance on top. You can also tap the bottom of a bun; if it sounds hollow, it’s ready!
Conclusion
Homemade slider buns are not only delicious but also incredibly versatile. Whether you’re preparing them for game day or weeknight dinners, these soft and golden buns complement any filling beautifully. Feel free to customize them with your favorite flavors and toppings for an even more delightful experience!
Homemade Slider Buns
- Total Time: 37 minutes
- Yield: Approximately 8 servings 1x
Description
Homemade slider buns are a delightful addition to any meal or gathering. Soft and golden, these buns are baked from scratch to create a bakery-quality experience right in your kitchen. Perfect for weeknight sliders, game day spreads, or any occasion, they are versatile enough to hold your favorite fillings while maintaining their fluffy texture. With this easy recipe, you’re set to impress family and friends with your baking prowess.
Ingredients
- 3½ cups all-purpose flour
- 2¼ teaspoons RapidRise yeast (granulated)
- 2 tablespoons granulated sugar
- 1 teaspoon table salt (or ¾ teaspoon if using salted butter)
- 1 cup warm water (100–110°F)
- 2 large eggs (room temperature, divided)
- 3 tablespoons unsalted butter (softened)
- Sesame seeds (for topping)
Instructions
- In a large mixing bowl, combine the flour, yeast, sugar, and salt. Mix well.
- Gradually add the warm water and one egg; stir until a shaggy dough forms. Mix in the softened butter and knead for 8–10 minutes with a mixer or 10–12 minutes by hand until smooth.
- Cover the bowl with plastic wrap or a damp towel and let it rise in a warm place until doubled in size (about 1 to 1½ hours).
- Once risen, punch down the dough gently and divide it into eight equal pieces. Shape each piece into a ball and place them on a parchment-lined baking pan.
- Cover loosely with a clean towel and let them rise again until puffy (about 45 to 60 minutes).
- Preheat oven to 375°F. Whisk together the second egg with one tablespoon of water and brush over the tops of the buns before sprinkling sesame seeds.
- Bake for 18–22 minutes until golden brown and glossy. Cool for about 10 minutes before serving.
- Prep Time: 15 minutes
- Cook Time: 22 minutes
- Category: Bread
- Method: Baking
- Cuisine: American
Nutrition
- Serving Size: 1 serving
- Calories: 153
- Sugar: 2g
- Sodium: 135mg
- Fat: 4g
- Saturated Fat: 2g
- Unsaturated Fat: 1g
- Trans Fat: 0g
- Carbohydrates: 25g
- Fiber: 1g
- Protein: 5g
- Cholesterol: 36mg